Deploy Hexo From Private Repository to GitHub Pages
Last time we talked how to deploy Hugo from private repository to GitHub Pages . I thought it is trivial to modify the workflow yaml to make it works for Hexo. However, it is much more complicated than I ever thought. The reason is that Hexo has to setup more dependencies with compatibility issues while Hugo is relatively self-contained and clean.
Actually, I spent several hours and attempted more than 20 times to make the workflow yaml works. :-)
Compared to Hugo workflow, there are several issues to be resolved:
- Setup private submodules for your themes
- Configure PAT to pull private submodules as well as your main repo
- Pandoc installation for mathjax (optional)
Let's start!
Typically, assume you have three repos (can belong to different github accounts). Without loss of generality, we assume the source repo, the target repo and the theme submodule repo are belong to the SAME github account.
- Source Repo (private): store the source code
- Theme Repo (private): store the modified theme source code
- Target Repo (public): host the GitHub Pages (xxx.github.io)
What we need to do is to create an account-level personal access token in the github account, configure it in the source repo and create an action workflow yaml.
GitHub Action Workflow Yaml for Hexo
We will take a top-down approach for this tutorial. See the workflow yaml first:
1 | name: Hexo Build & Deploy - Private to Public |
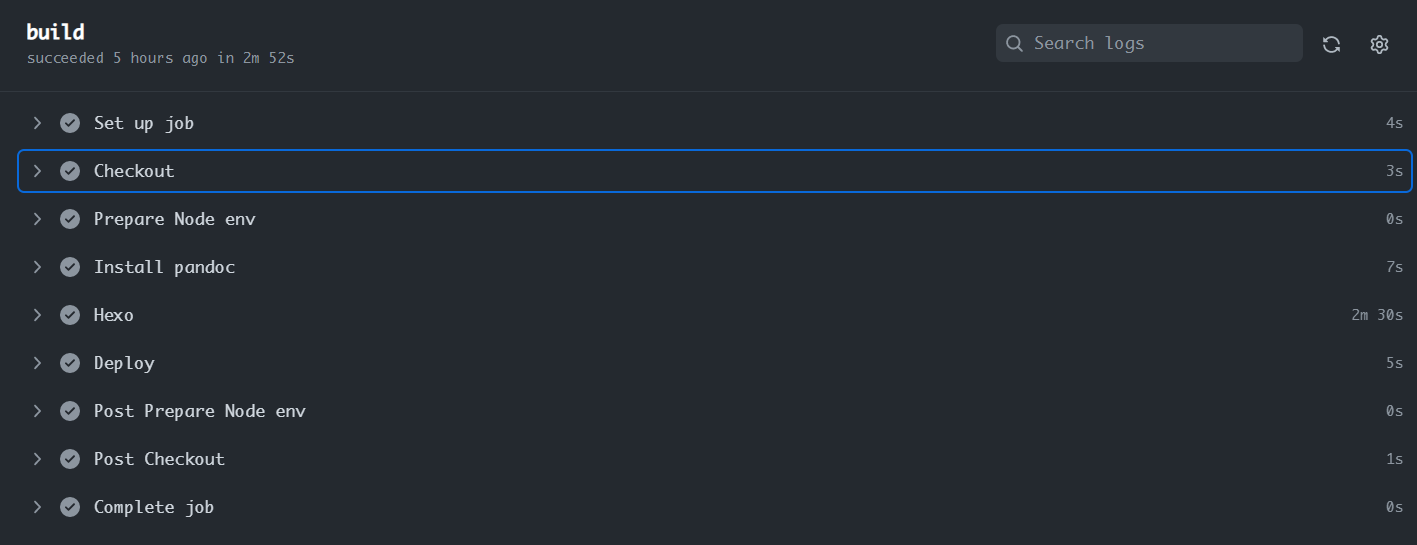
The action workflow consists of the following parts:
- Checkout: checkout the source code as well as submodules
- Setup Node Env: setup node environment
- Install pandoc for mathjax (Optional): if your use pandoc and mathjax to render math formulas
- Setup and Run Hexo: build the static website
- Deploy: use # GitHub Pages Deploy Action to publish the website to the target GitHub Page
The action workflow yaml is based on: #
Using GitHub Actions to Publish Hugo Site From Private to Public
Repo. Modify according to your needs, create a new workflow action
in the source repo by Setup a workflow yourself and paste
it into the editor. The yaml should be put in the path:
.github/workflows/main.yml.
Next steps:
- Setup the theme submodule
Fill the following fields in the above yaml:
token: ${{ secrets.MYPAT }}: change the secret name to the PAT secret namessh-key: ${{ secrets.DEPLOY_KEY }}: create a deploy key to push the built site HTML to the target reporepository-name: xxx/xxx.github.io: the target GitHub Page repository address
Setup the Theme Submodule
The recommended way to manage Hexo themes is to use git submodule. However, there are several considerations:
- Save your customized theme config
- Theme upgrade is tough and complicated (merge and resolve conflicts for breaking change)
The easier way to bypass the submodule issue is NOT use it. Just
remove the theme's .git folder and checkin it to the source
repo. However, it's hard to follow the latest theme version and
upgrade.
Here, we choose to FORK the theme repo to our own private repo. Use
two branches to manage it: the main branch can be fast-forwarded to the
latest official version, while the v8.5 branch holds our
customized changes.
General add submodule command:
1 | git submodule add -b master <git@github.com:MYSUBMODULE.git> <path/to/MYSUBMODULE> |
This creates the submodule and makes it track submodule's
master branch. You can change the branch name if you want
to track a different branch.
Now we setup the submodule as follow:
1 | git remote add mythemenext git@github.com:finisky/mythemenext |
If you encounter:
'themes/next' already exists in the index . Add option
--force after git submodule add.
References for this topic:
利用 Github Action 部署 Hexo How to Setup Blog with Hexo and NexT on GitHub Pages
Create Personal Access Token
Personal access tokens (PATs) are an alternative to using passwords for authentication to GitHub Enterprise Server when using the GitHub API or the command line.
We will use the PAT to push the built hugo website from the source repo to the target repo.
Just follow this post to generate a PAT:
Profile Photo -> Settings -> Developer settings -> Personal access tokens -> Generate new token
Remember to check the following two scopes: workflow and
write:packages.
Copy the token and properly save it, assume its value is
TOKENXXX.
Notice that the PAT is an account-level token, deploy key is recommended to use as a repo-level token. Here we MUST use the PAT to pull the website source code as well as the submodule code.
Configure the PAT as a Secret in Source Repo
Go to the source repo: > Settings -> Secrets -> Actions -> New repository secret
Paste the token created before TOKENXXX to the value
field. Name the secret as MYPAT.
Create Deploy Key
Tips: You can SKIP this step and use the PAT to
deploy the websites. Just replace
ssh-key: ${{ secrets.DEPLOY_KEY }} by
token: ${{ secrets.MYPAT }} . But deploy key is
recommended.
Follow this post and this to create a deploy key:
1 | ssh-keygen -t ed25519 -C "your_email@example.com" |
Follow this post to add the deploy key to the source repo:
Once you've generated the key pair you must add the contents of the public key within your repository's deploy keys menu. You can find this option by going to
Settings > Deploy Keys, you can name the public key whatever you want, but you do need to give it write access. Afterwards, add the contents of the private key to theSettings > Secretsmenu asDEPLOY_KEY.
Install Pandoc for mathjax (Optional)
You may encounter the following error:
Error: R][hexo-renderer-pandoc] pandoc exited with code null.
If you use pandoc and mathjax to render formulas, the following
workflow step is mandatory (modify the pandoc version to your
environment). Otherwise, just remove this part and
pandoc --version in the next part:
1 | - name: Install pandoc |
If you encounter the following error:
Error: R][hexo-renderer-pandoc] pandoc exited with code 64: YAML parse exception at line 4, column 0, while scanning a simple key: could not find expected ':'
It's pandoc version compatibility issue, try to modify the above
wget command to use the same version as in your local
environment. Refer to # pandoc exited
with code 64 Solution.
The trick is that we cannot use the official document docker file like this: # Using pandoc with GitHub Actions
1 | steps: |
Because the pandoc command will be used in the next step
Setup and Run Hexo to build the Static Site.
Therefore, we follow this post Hexo之问题集合 and use
dpkg to install the pandoc globally.
Checkout Submodule in GitHub Actions
If you see many warn messages in step Hexo:
WARN No layout: tags/index.html WARN No layout: nlpadapters/index.html WARN No layout: deployhugofromprivaterepo/index.html
Probably the submodule themes/next are not correctly
pulled. By default, the submodule will not be pulled. Need to add
submodules: 'true'.
We follow this post # Access private submodules in GitHub Actions to use a deploy key to pull the submodule. Unfortunately, the following error appears:
Run actions/checkout@v2.3.4 Syncing repository: finisky/finiskyblogsource ... Fetching the repository Removing auth Error: The process '/usr/bin/git' failed with exit code 128
Seems that the main repo finisky/finiskyblogsource
cannot be properly pulled because the main repo and the
submodule repo should have the same deploy key. However, we
failed to add the same deploy key to the main repo as GitHub said it's
already been used.
Therefore, we can only use PAT to pull the main repo and the submodule repo at the same time. Modify the checkout part like this:
1 | - name: Checkout |
Two Ways to Deploy Hexo Artifacts
Look at steps:
1 | - name: Hexo |
Actually, there are two ways to deploy artifacts:
hexo deployin stepSetup and Run Hexo to build the Static Sitegithub-pages-deploy-actionas we used
We choose the second way to keep it consistent with Hugo deploy action.
Summary
Congratulations!
After you push the source code to the source repo, the deployment action will be triggered: