Kubernetes部署MongoDB集群(一):安装MongoDB Ops Manager
MongoDB的入门配置门槛(单机)很低,但如果想达到生产环境的要求则有些技术含量。生产环境的配置要求包括Replica Set、Sharding、Scale up/down、数据备份、通信加密TLS和指标实时监控等。配置这些功能比较繁琐,有不少坑要踩。那么有没有好用的工具帮我们配置和管理呢?
MongoDB是个分布式系统,且需要动态的增加或删除节点,那么与kubernetes结合使用则是珠联璧合。结合之后就需要一套kubernetes工具对其进行管理,它就是MongoDB Enterprise Kubernetes Operator,更进一步,可以使用MongoDB Ops Manager完成上面所有生产环境的配置需求。
整个配置流程比较繁杂,为不使一篇万字长文吓到读者,写成了系列教程,力求每一块简明内聚:
- 安装MongoDB Ops Manager
- 创建用户数据库(replicaset)
- 用户数据库服务配置公网访问
- openssl生成自签名CA证书和server证书
- 打开用户数据库TLS通信加密和Auth授权
阅读教程前提:有Kubernetes集群,了解deployment/service/statefulset含义,熟悉kubectl基本操作。
本文为系列第一部分,简介MongoDB Ops Manager Kubernetes的构成,以及如何安装MongoDB Ops Manager。
MongoDB Ops Manager Kubernetes部署简介
一张简图说明MongoDB Ops Manager部署的架构: 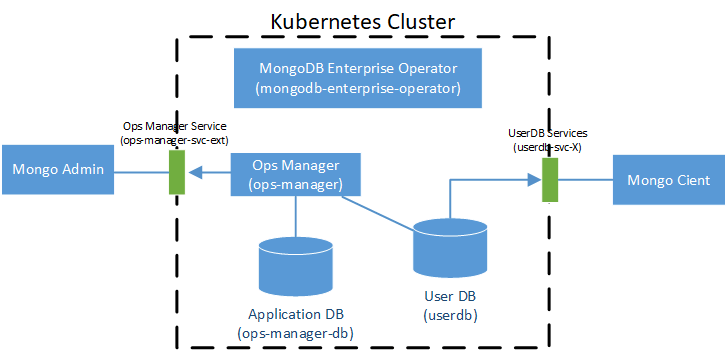 Kubernetes
Deployment仅有一个:
Kubernetes
Deployment仅有一个:
- Mongodb
Enterprise Operator: 无状态,通过kubernetes
CustomResourceDefinition扩展了kubernetes API,后续便于进行各项操作
Kubernetes StatefulSet:
- Ops Manager: MongoDB Ops Manager的Web Portal,需要持久存储
- Application Database: Ops Manager后端数据库,默认是3实例的MongoDB replicaset。注意它并不被MongoDB的用户所使用
- User Database: Ops Manager创建的用户数据库,本例中是3实例的MongoDB replicaset
Kubernetes Services:
- Ops Manager Service: MongoDB Ops Manager安装后自动创建的Service,Ops
Manager的Web URL。
Mongo Admin可以通过这个URL用Ops Manager对UserDB进行监控和管理 - UserDB Services:
多个暴露UserDB地址的Service,有几个实例就有几个对应的service。用户的应用
Mongo Client通过这几个Service连接UserDB
Kubernetes安装MongoDB Ops Manager
安装MongoDB Ops Manager并不困难,按官方博客教程的Part1一步步来即可。
#
Part1: Running MongoDB Ops Manager in Kubernetes
安装MongoDB Enterprise Operator
$ kubectl create namespace mongodb
namespace/mongodb created
$ kubectl apply -f https://raw.githubusercontent.com/mongodb/mongodb-enterprise-kubernetes/master/crds.yaml
Warning: kubectl apply should be used on resource created by either kubectl create --save-config or kubectl apply
customresourcedefinition.apiextensions.k8s.io/mongodb.mongodb.com configured
Warning: kubectl apply should be used on resource created by either kubectl create --save-config or kubectl apply
customresourcedefinition.apiextensions.k8s.io/mongodbusers.mongodb.com configured
Warning: kubectl apply should be used on resource created by either kubectl create --save-config or kubectl apply
customresourcedefinition.apiextensions.k8s.io/opsmanagers.mongodb.com configured
Warning: kubectl apply should be used on resource created by either kubectl create --save-config or kubectl apply
clusterrole.rbac.authorization.k8s.io/mongodb-enterprise-operator-mongodb-webhook configured
$ kubectl apply -f https://raw.githubusercontent.com/mongodb/mongodb-enterprise-kubernetes/master/mongodb-enterprise.yaml
serviceaccount/mongodb-enterprise-operator created
clusterrole.rbac.authorization.k8s.io/mongodb-enterprise-operator-mongodb-certs unchanged
clusterrolebinding.rbac.authorization.k8s.io/mongodb-enterprise-operator-mongodb-webhook-binding configured
clusterrolebinding.rbac.authorization.k8s.io/mongodb-enterprise-operator-mongodb-certs-binding configured
role.rbac.authorization.k8s.io/mongodb-enterprise-operator created
rolebinding.rbac.authorization.k8s.io/mongodb-enterprise-operator created
serviceaccount/mongodb-enterprise-appdb created
serviceaccount/mongodb-enterprise-database-pods created
serviceaccount/mongodb-enterprise-ops-manager created
role.rbac.authorization.k8s.io/mongodb-enterprise-appdb created
rolebinding.rbac.authorization.k8s.io/mongodb-enterprise-appdb created
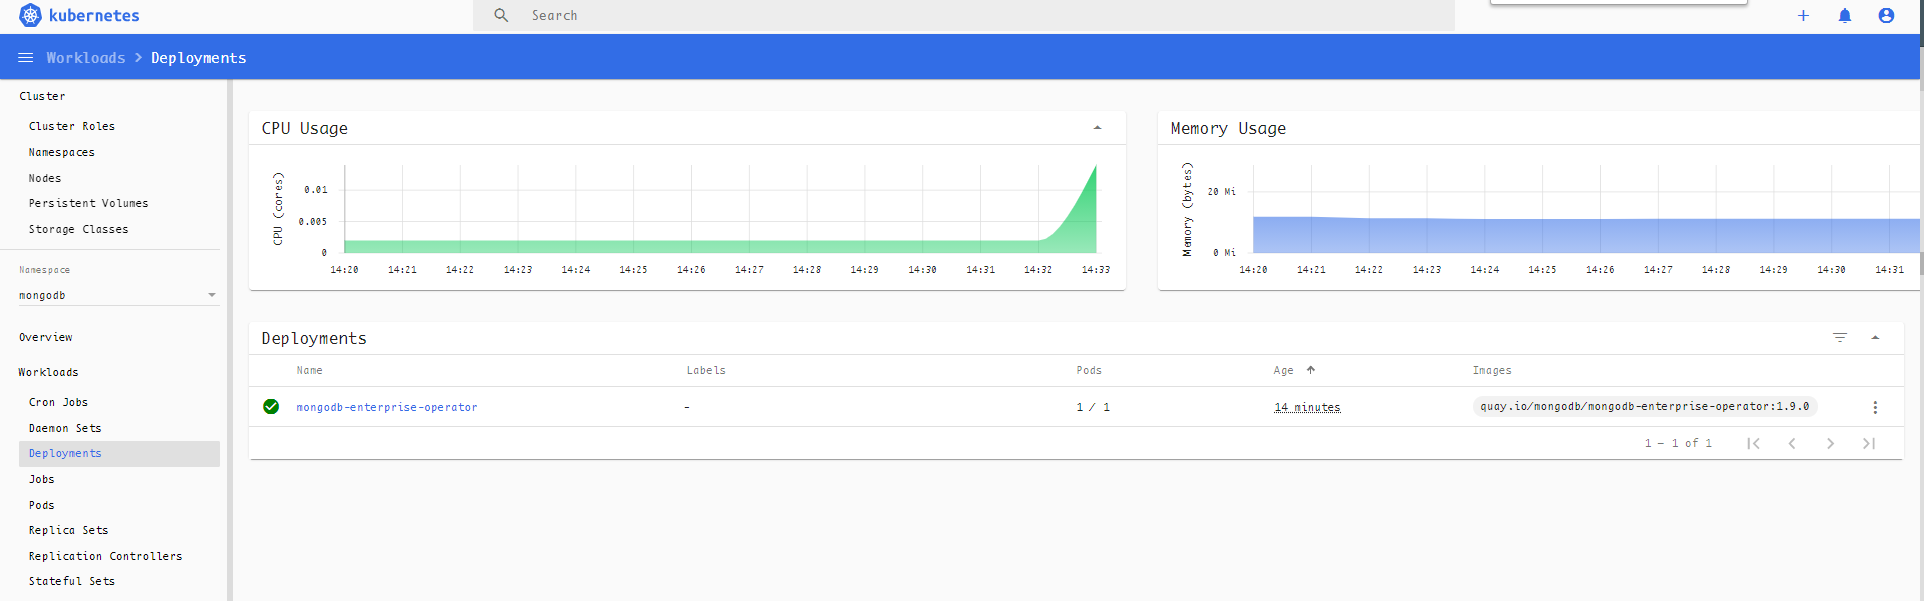
deployment.apps/mongodb-enterprise-operator created此处在集群中新建了一个Deployment: mongodb-enterprise-operator,可在kubernetes dashboard中查看:
安装MongoDB Ops Manager
创建Ops Manager管理员secret
$ kubectl create secret generic ops-manager-admin-secret --from-literal=Username="xxx@xxx.com"  --from-literal=Password="Test" --from-literal=FirstName="Last" --from-literal=LastName="Last" -n mongodb
secret/ops-manager-admin-secret created
此处的Username和Password要记好,安装完毕后要通过它们进行登录。
MongoDB Ops Manager配置文件: ops-manager.yaml
apiVersion: mongodb.com/v1
kind: MongoDBOpsManager
metadata:
  name: ops-manager
  namespace: mongodb
spec:
  # the version of Ops Manager distro to use
  version: 4.2.4

  # the name of the secret containing admin user credentials.
  adminCredentials: ops-manager-admin-secret

  externalConnectivity:
    type: LoadBalancer

  # the Replica Set backing Ops Manager.
  # appDB has the SCRAM-SHA authentication mode always enabled
  applicationDatabase:
    members: 3
应用ops-manager.yaml
$ kubectl apply -f ops-manager.yaml
mongodbopsmanager.mongodb.com/ops-manager created
执行完命令会创建三个statefulset:
- 一个3节点的statefulset作为Ops Manager的后端DB
- 一个statefulset作为Ops Manager的Web前端
- 一个statefuleset作为Backup Daemon
等着Ops Manager的这些资源创建完毕并变成"Running":
$ kubectl get om -n mongodb
NAME          REPLICAS   VERSION   STATE (OPSMANAGER)   STATE (APPDB)   STATE (BACKUP)   AGE   WARNINGS
ops-manager              4.2.4     Running              Running         Pending          18m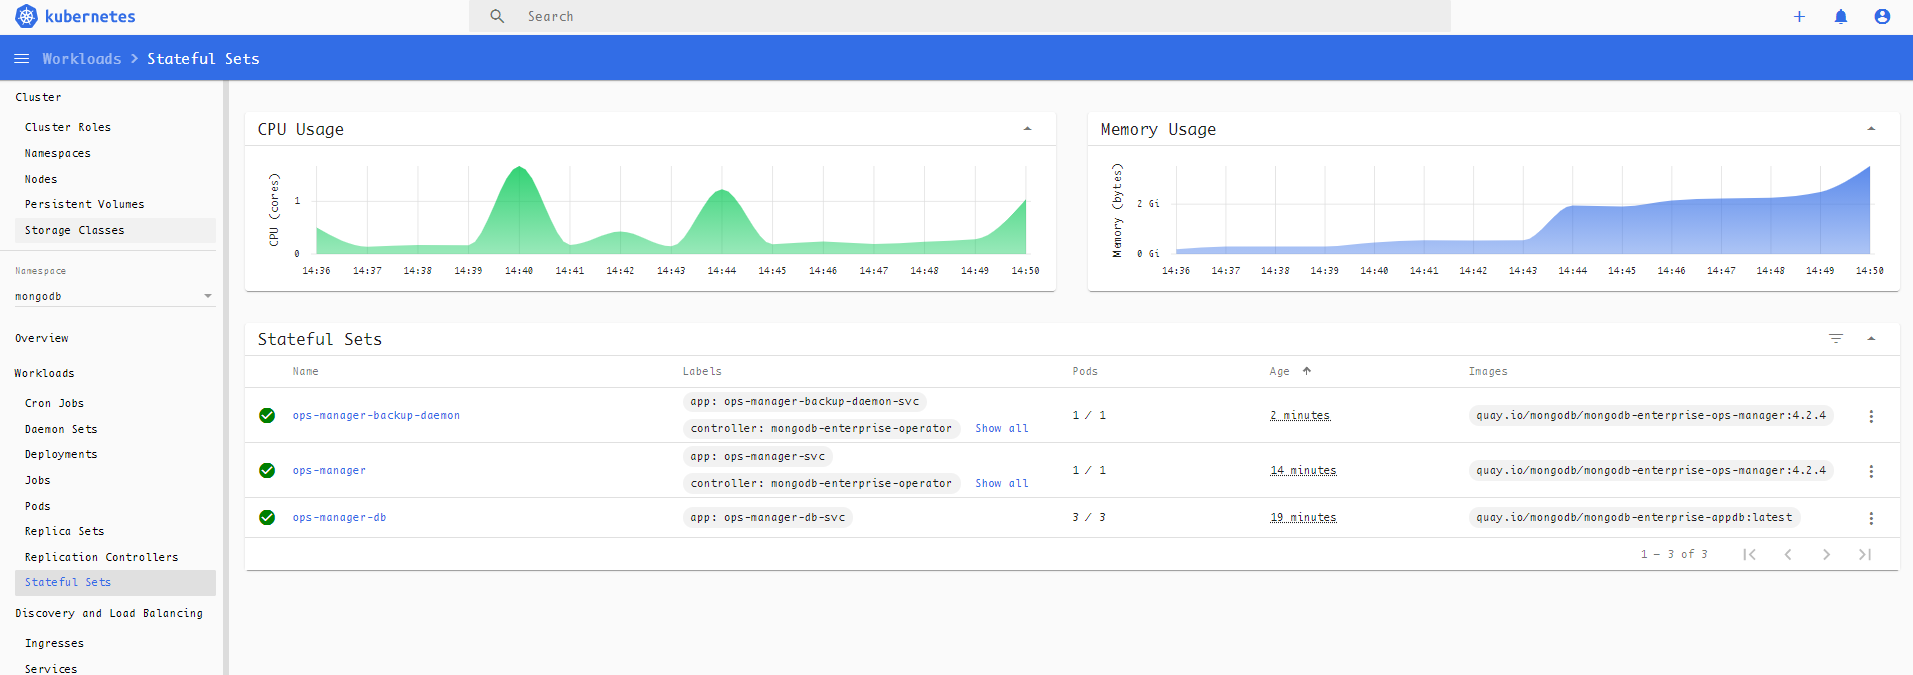
查看创建的services: 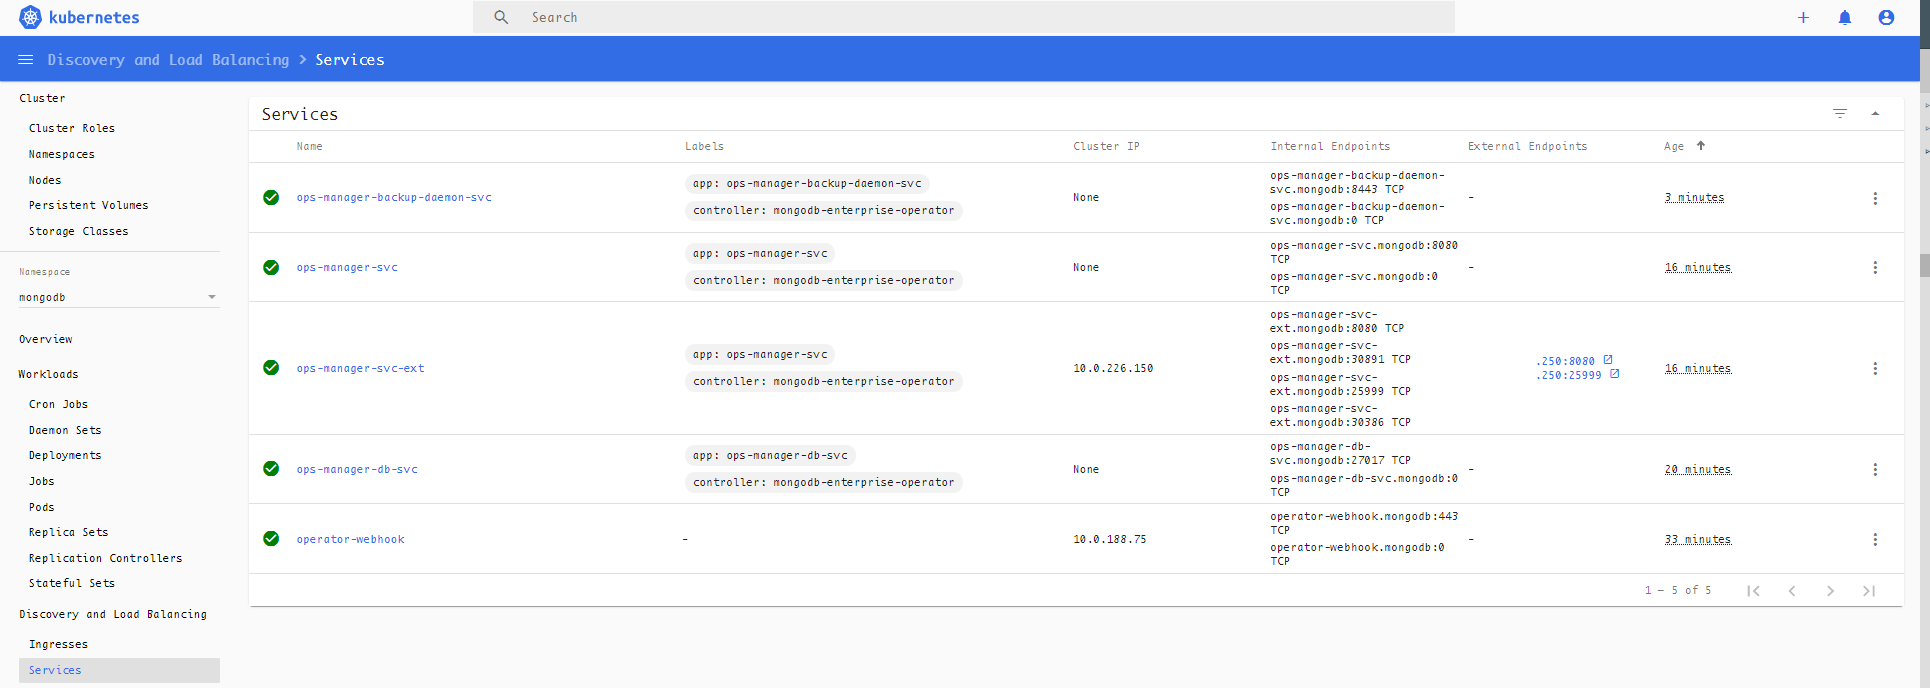
可以找到Ops Manager的service
ops-manager-svc-ext的地址:x.x.x.250:8080。在浏览器中打开: 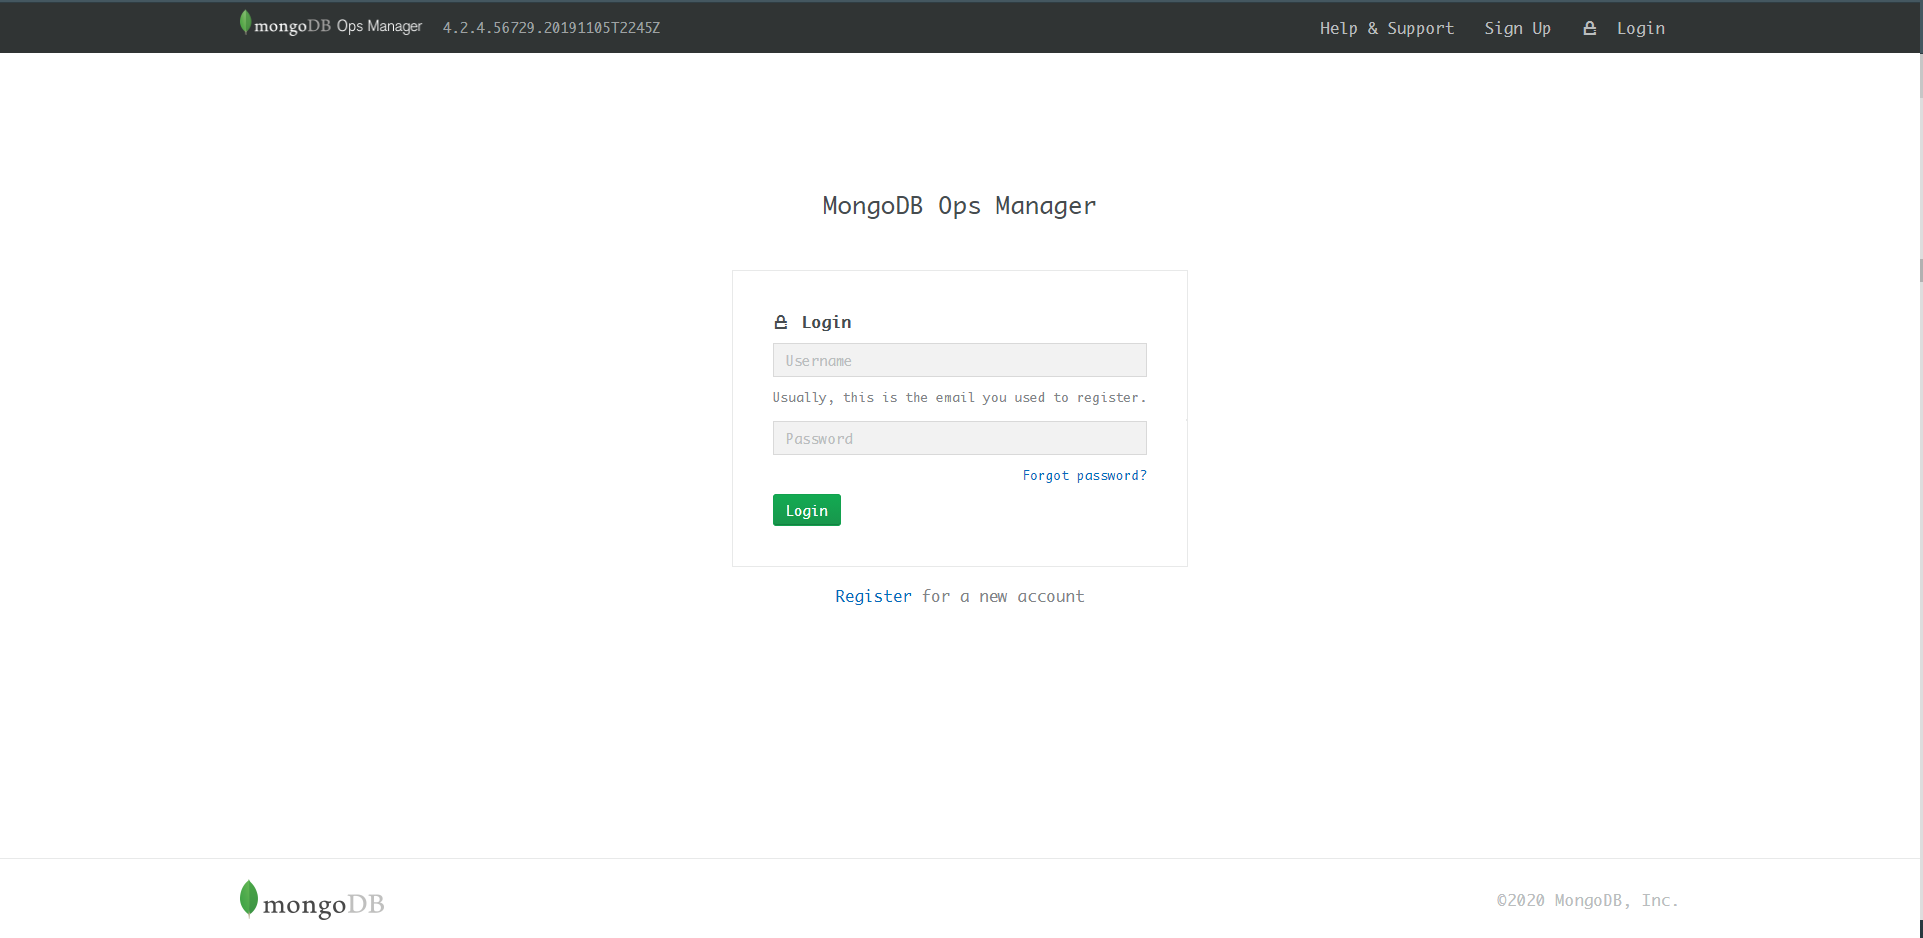
填入创建ops-manager-admin-secret的用户名xxx@xxx.com和密码即可登录。然后出现了Configure Ops Manager的界面,如设置Ops
Manager的URL(而非当前的集群内部地址:http://ops-manager-svc.mongodb.svc.cluster.local:8080)等。这些配置都可以在之后通过Admin界面修改,不再赘述。
删除secret
ops-manager-admin-secret
$ kubectl delete secret ops-manager-admin-secret -n mongodb
secret "ops-manager-admin-secret" deleted
官方tutorial说它不会再被用到,目测登录用户名和密码已经被写入了创建好的后端DB中。
配置完成界面
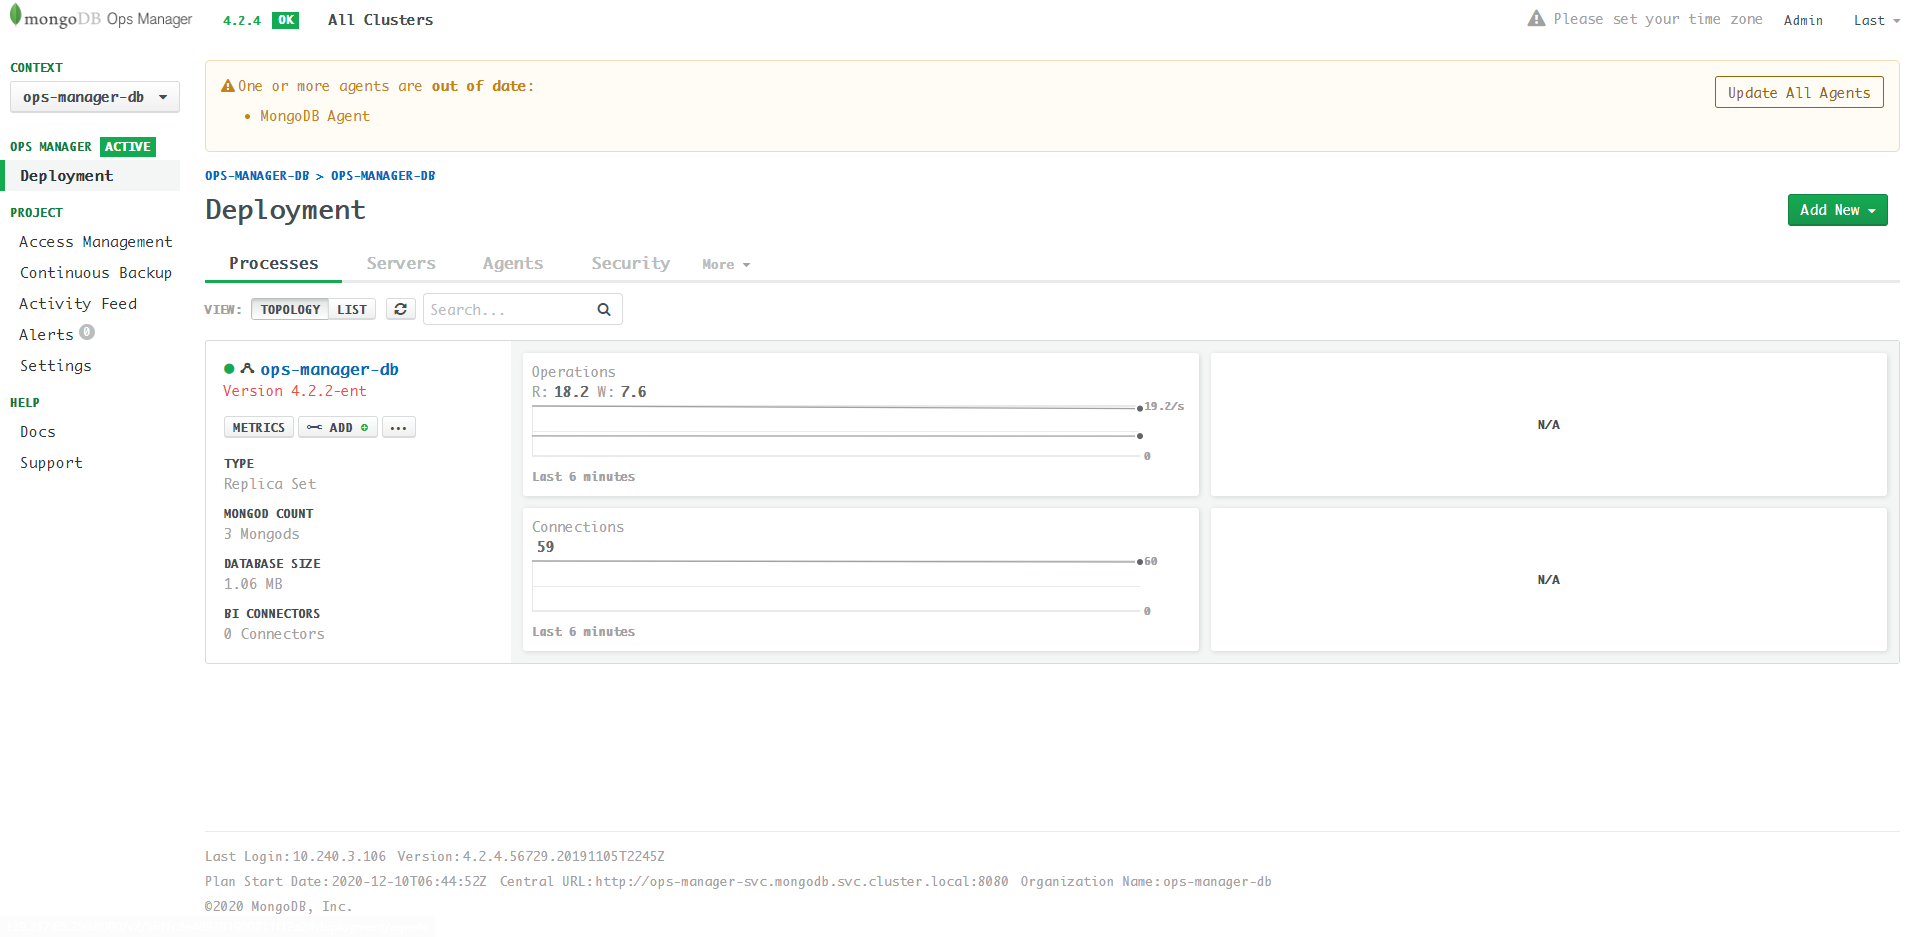
注意: 这里的三个DB是供Ops Manager使用的后端DB(所谓Application Database),并不是我们需要创建的用户数据库。
下一部分我们使用Ops Manager创建用户数据库: Kubernetes部署MongoDB集群(二):创建用户数据库(replicaset)
此外,官方教程Part2介绍了一些高级功能,以及Ops Manager的架构示意,有兴趣可以参考。 # Part2: Ops Manager in Kubernetes