Kubernetes部署MongoDB集群(四):openssl生成自签名CA证书和server证书
本文为系列第四部分,相对独立,先生成一个自签名CA证书,然后生成MongoDB各个server证书。
整个系列:
- 安装MongoDB Ops Manager
- 创建用户数据库(replicaset)
- 用户数据库服务配置公网访问
- openssl生成自签名CA证书和server证书
- 打开用户数据库TLS通信加密和Auth授权
自签名证书不推荐在生产环境使用,虽然它可以保证通信过程中的加密,但不能避免中间人攻击。Public Key Infrastructure (PKI)相关的内容也不在本文的讨论范围,这里假设读者对PKI已有基本的认识。
实例设置
首先回顾一下已有的userdb servers: 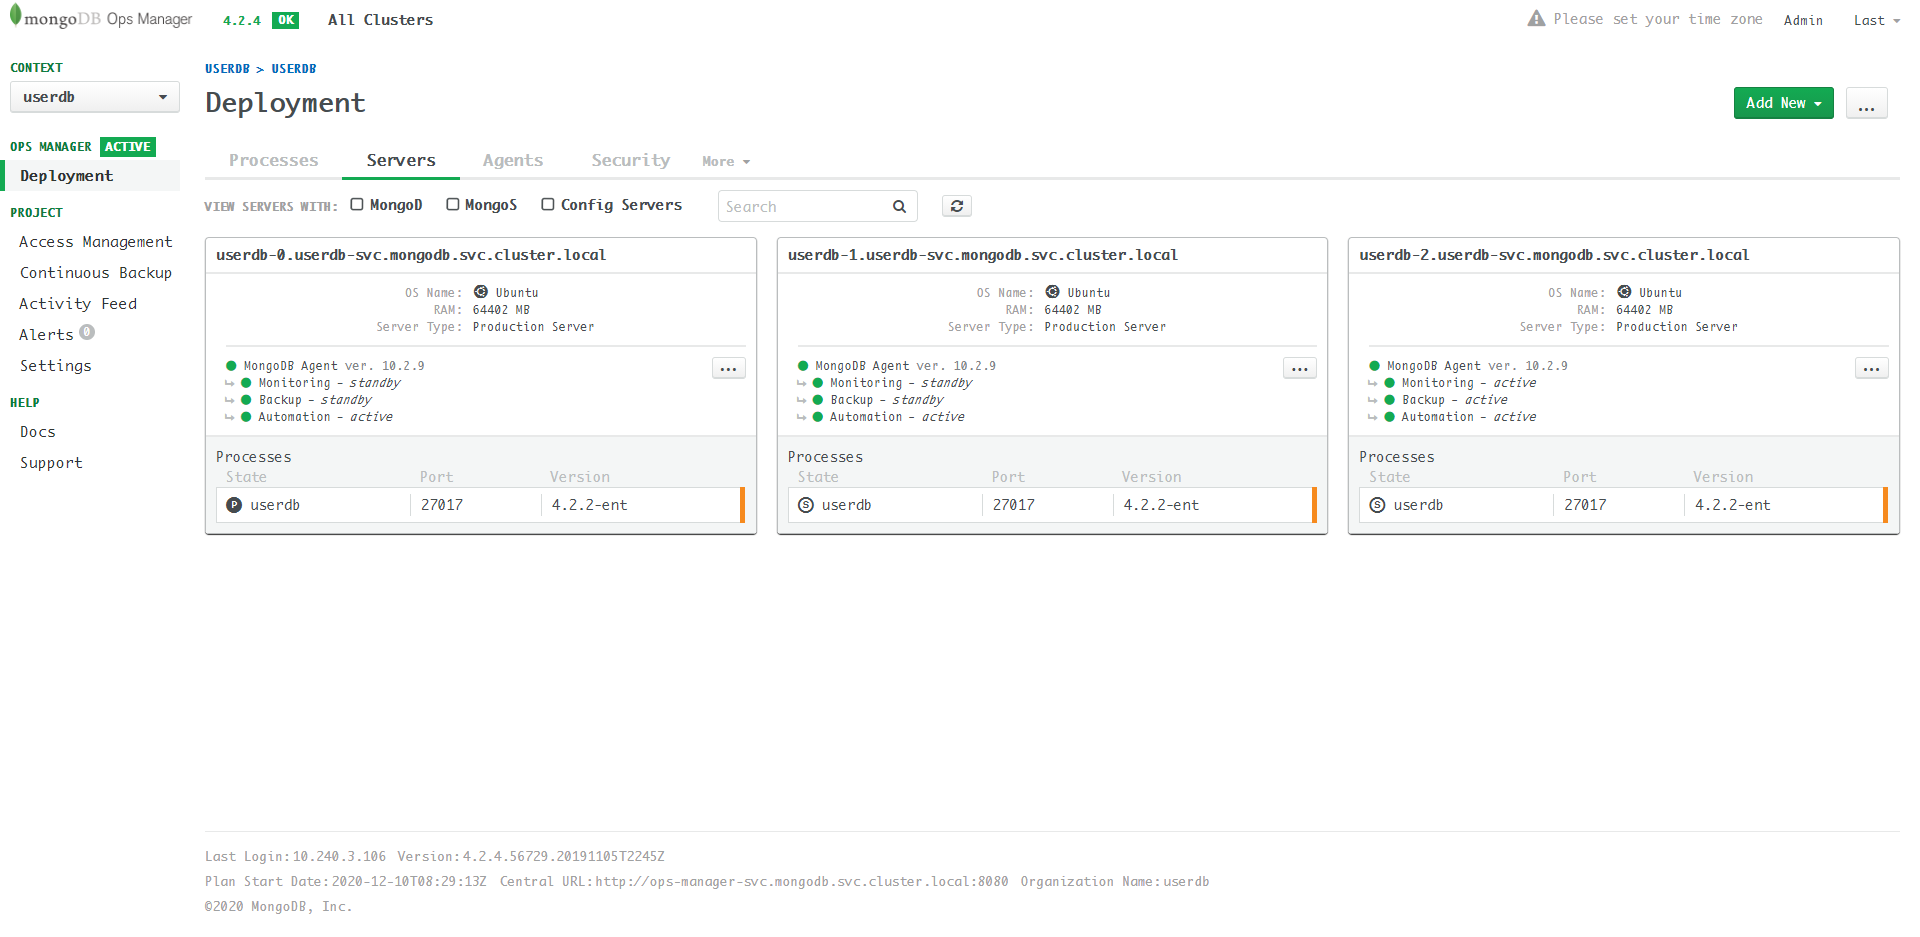
构成userdb ReplicaSet有三个server,
在kubernetes中的内部通信使用私网域名:
- userdb-0.userdb-svc.mongodb.svc.cluster.local
- userdb-1.userdb-svc.mongodb.svc.cluster.local
- userdb-2.userdb-svc.mongodb.svc.cluster.local
在 第三部分
也已配置了公网IP。现在我们已经可以从公网通过IP访问到这三个server,但更常见的情况是我们为这三个IP绑定了域名,这里假设三个公网域名:
- userdb0.com
- userdb1.com
- userdb2.com
于是我们在kubernetes集群内部可以用xxx.svc.cluster.local地址访问server,在集群外部可以用userdb<X>.com访问server。
注意MongoDB的server与server之间是需要通信的,用于数据同步、Primary节点选择等,而打开TLS之后,server与server之间也需要互相通过证书验证,因此每个server的证书需要同时包含公网域名和私网域名。
server和server之间如何相信对方是合法的证书呢?那就需要大家都相信同一个root certificate authority (CA)签名的证书。所以一共需要4个证书:
rootca.crtuserdb<X>.pem,X=0,1,2
生成自签名CA证书
参考官方文档: # Appendix A - OpenSSL CA Certificate for Testing
生成CA key
$ openssl genrsa -out rootca.key 4096
Generating RSA private key, 4096 bit long modulus (2 primes)
..................................................................................................................................................................................................................................................++++
................++++
e is 65537 (0x010001)rootca.key是私钥,妥善保管。
配置rootca.cnf
这个文件很重要,用来生成CA证书的配置文件,不用改动,可在下一步openssl生成证书时修改其中State/Organization等信息。
# For the CA policy
[ policy_match ]
countryName = match
stateOrProvinceName = match
organizationName = match
organizationalUnitName = optional
commonName = supplied
emailAddress = optional

[ req ]
default_bits = 4096
default_keyfile = rootca.pem    ## The default private key file name.
default_md = sha256                           ## Use SHA-256 for Signatures
distinguished_name = req_dn
req_extensions = v3_req
x509_extensions = v3_ca # The extentions to add to the self signed cert

[ v3_req ]
subjectKeyIdentifier  = hash
basicConstraints = CA:FALSE
keyUsage = critical, digitalSignature, keyEncipherment
nsComment = "OpenSSL Generated Certificate for TESTING only.  NOT FOR PRODUCTION USE."
extendedKeyUsage  = serverAuth, clientAuth

[ req_dn ]
countryName = Country Name (2 letter code)
countryName_default = CN

countryName_min = 2
countryName_max = 2

stateOrProvinceName = State or Province Name (full name)
stateOrProvinceName_default = Beijing
stateOrProvinceName_max = 64

localityName = Locality Name (eg, city)
localityName_default = Beijing
localityName_max = 64

organizationName = Organization Name (eg, company)
organizationName_default = TestComp
organizationName_max = 64

organizationalUnitName = Organizational Unit Name (eg, section)
organizationalUnitName_default = TestComp
organizationalUnitName_max = 64

commonName = Common Name (eg, YOUR name)
commonName_max = 64

[ v3_ca ]
# Extensions for a typical CA

subjectKeyIdentifier=hash
basicConstraints = critical,CA:true
authorityKeyIdentifier=keyid:always,issuer:always
生成CA证书
$ openssl req -new -x509 -days 36500 -key rootca.key -out rootca.crt -config rootca.cnf
You are about to be asked to enter information that will be incorporated
into your certificate request.
What you are about to enter is what is called a Distinguished Name or a DN.
There are quite a few fields but you can leave some blank
For some fields there will be a default value,
If you enter '.', the field will be left blank.
-----
Country Name (2 letter code) [CN]:
State or Province Name (full name) [Beijing]:
Locality Name (eg, city) [Beijing]:
Organization Name (eg, company) [TestComp]:
Organizational Unit Name (eg, section) [TestComp]:
Common Name (eg, YOUR name) []:执行完此命令,会生成一个有效期为100年(不推荐这么长时间)的rootca证书rootca.crt。
生成IA证书Intermediate Certificate
自签名证书不要用这个,增加不必要的麻烦。 # The Difference Between Root Certificates and Intermediate Certificates
证书的信任基于证书链,一般而言是:
CA -> IA -> Server CertificateCA -> Server Certificate生成Server证书
参考官方文档: # Appendix B - OpenSSL Server Certificates for Testing
配置userdb0.cnf
这个文件最重要的部分就是[ alt_names ],如前所述,里面的DNS要同时写入公网和私网域名:
[ alt_names ]
DNS.1 = userdb0.com
DNS.2 = userdb-0.userdb-svc.mongodb.svc.cluster.localuserdb0.cnf:
[ req ]
default_bits = 4096
default_md = sha256
distinguished_name = req_dn
req_extensions = v3_req

[ v3_req ]
subjectKeyIdentifier  = hash
basicConstraints = CA:FALSE
keyUsage = critical, digitalSignature, keyEncipherment
nsComment = "OpenSSL Generated Certificate for TESTING only.  NOT FOR PRODUCTION USE."
extendedKeyUsage  = serverAuth, clientAuth
subjectAltName = @alt_names

[ alt_names ]
DNS.1 = userdb0.com        ##TODO: Enter the DNS names. The DNS names should match the server names.
DNS.2 = userdb-0.userdb-svc.mongodb.svc.cluster.local        ##TODO: Enter the DNS names. The DNS names should match the server names.
IP.1 =          ##TODO: Enter the IP address. SAN matching by IP address is available starting in MongoDB 4.2
IP.2 =          ##TODO: Enter the IP address. SAN matching by IP address is available starting in MongoDB 4.2

[ req_dn ]
countryName = Country Name (2 letter code)
countryName_default = CN

countryName_min = 2
countryName_max = 2

stateOrProvinceName = State or Province Name (full name)
stateOrProvinceName_default = Beijing
stateOrProvinceName_max = 64

localityName = Locality Name (eg, city)
localityName_default = Beijing
localityName_max = 64

organizationName = Organization Name (eg, company)
organizationName_default = TestComp
organizationName_max = 64

organizationalUnitName = Organizational Unit Name (eg, section)
organizationalUnitName_default = TestComp
organizationalUnitName_max = 64

commonName = Common Name (eg, YOUR name)
commonName_max = 64$ openssl genrsa -out userdb0.key 4096
$ openssl req -new -key userdb0.key -out userdb0.csr -config userdb0.cnf
$ openssl x509 -sha256 -req -days 3650 -in userdb0.csr -CA rootca.crt -CAkey rootca.key -CAcreateserial -out userdb0.crt -extfile userdb0.cnf -extensions v3_req
$ cat userdb0.crt userdb0.key > userdb0.pemSample output:
$ openssl genrsa -out userdb0.key 4096
Generating RSA private key, 4096 bit long modulus (2 primes)
.............................................................++++
.....++++
e is 65537 (0x010001)

$ openssl req -new -key userdb0.key -out userdb0.csr -config userdb0.cnf
You are about to be asked to enter information that will be incorporated
into your certificate request.
What you are about to enter is what is called a Distinguished Name or a DN.
There are quite a few fields but you can leave some blank
For some fields there will be a default value,
If you enter '.', the field will be left blank.
-----
Country Name (2 letter code) [CN]:
State or Province Name (full name) [Beijing]:
Locality Name (eg, city) [Beijing]:
Organization Name (eg, company) [TestComp]:
Organizational Unit Name (eg, section) [TestComp]:
Common Name (eg, YOUR name) []:

$ openssl x509 -sha256 -req -days 3650 -in userdb0.csr -CA rootca.crt -CAkey rootca.key -CAcreateserial -out userdb0.crt -extfile userdb0.cnf -extensions v3_req
Signature ok
subject=C = CN, ST = Beijing, L = Beijing, O = TestComp, OU = TestComp
Getting CA Private Key

$ cat userdb0.crt userdb0.key > userdb0.pem验证证书
验证Server证书
下面命令可以用来验证生成的server证书是有效的,指定CA文件为rootca.crt
$ openssl verify -CAfile rootca.crt userdb0.pem
userdb0.pem: OKopenssl verify -CAfile rootca.crt rootca.crt
rootca.crt: OK查看server证书的altnames
查看证书认证的域名:
$ openssl x509 -text -noout -in userdb0.pem
...
            X509v3 Subject Alternative Name:
                DNS:userdb0.com, DNS:userdb-0.userdb-svc.mongodb.svc.cluster.local, IP Address:xxx.xxx.xxx.xxx
...至此,我们已经生成了一个根证书root.crt和三个server证书userdb<X>.pem。