MongoDB Cluster In Kubernetes(4): Openssl Generates Self-signed Certificates
This is part4, we will create a self-signed CA certificate and three server certificates.
MongoDB Ops Manager Series:
- Install MongoDB Ops Manager
- Create a UserDB ReplicaSet
- Expose UserDB to Public
- Openssl Generates Self-signed Certificates
- Enable UserDB TLS and Auth
Self-signed certificates is not recommended for production. It cannot prevent man-in-the-middle attack. Since our main purpose is to encrypt the communication messages instead of authentication. Self-signed certificates is acceptable.
Get Internal Server Endpoints
Look at the userdb servers: 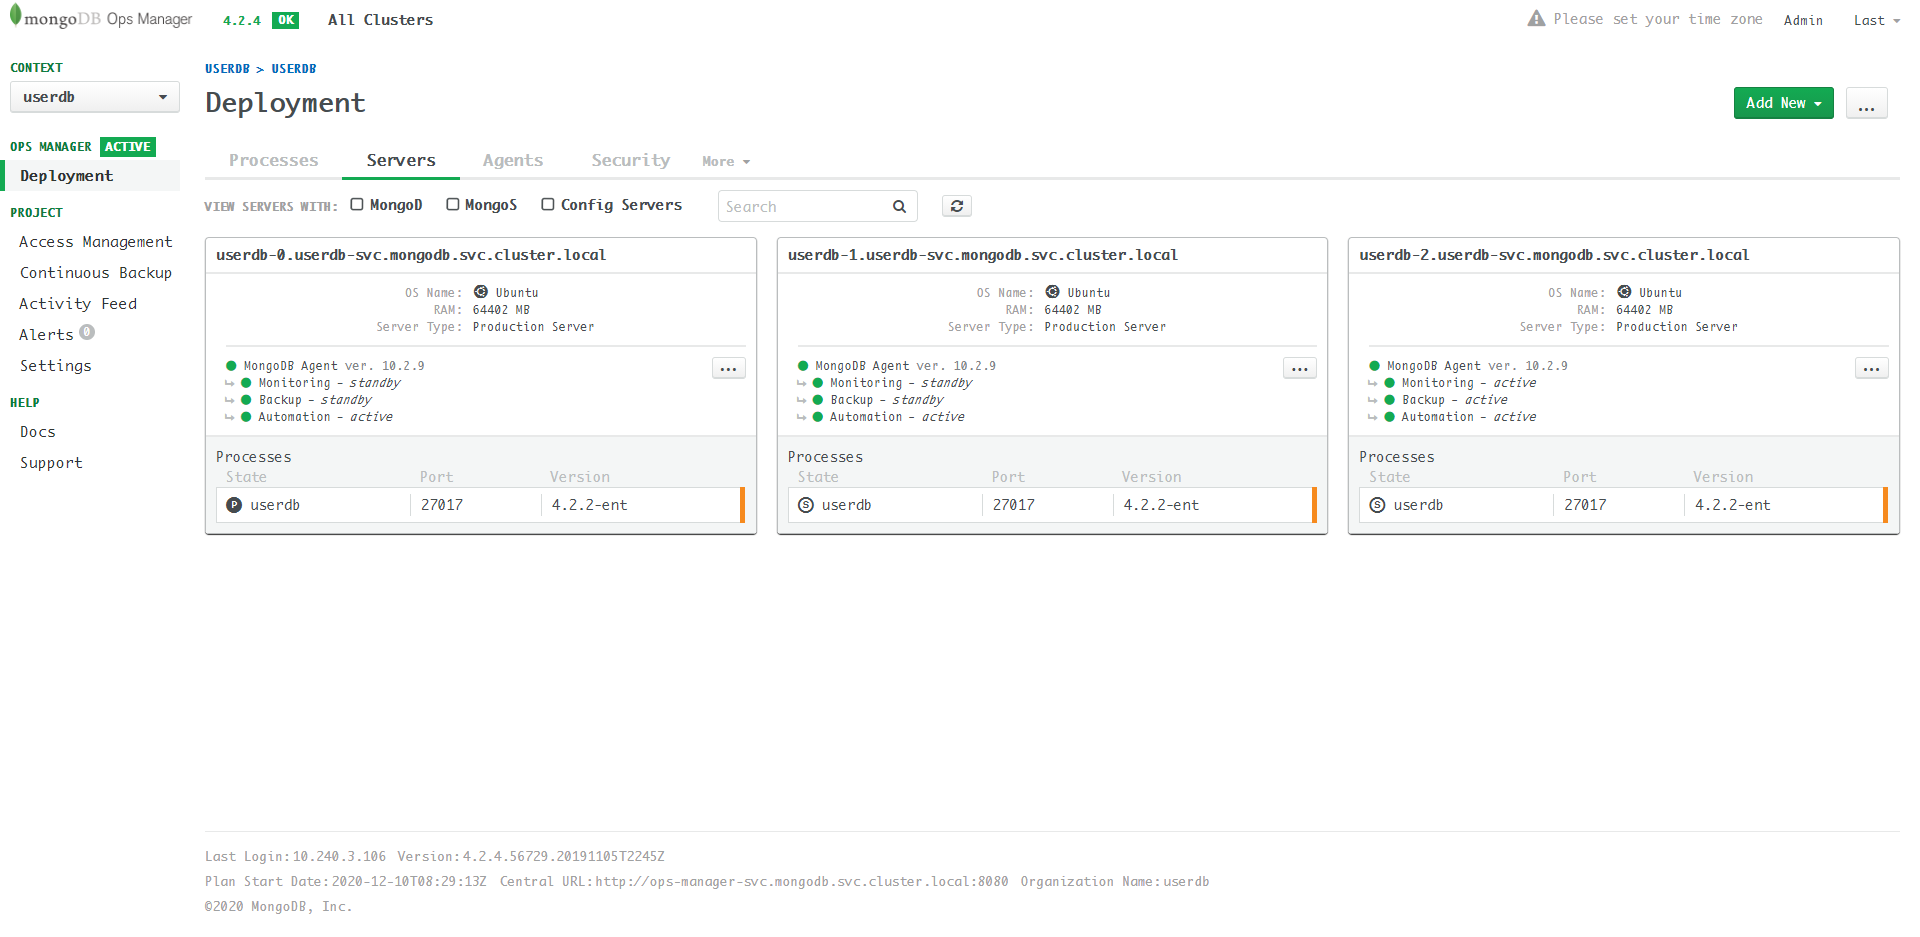
The userdb ReplicaSet has 3 servers, they communicates
with each other by internal endpoints:
- userdb-0.userdb-svc.mongodb.svc.cluster.local
- userdb-1.userdb-svc.mongodb.svc.cluster.local
- userdb-2.userdb-svc.mongodb.svc.cluster.local
In Part 3 we
have configured the external endpoints:
userdb0.com, userdb1.com,
userdb2.com for servers. Therefore, we can access the
userdb by internal endpoints
xxx.svc.cluster.local inside kubernetes cluster, and access
the userdb by external endpoints
userdb<X>.com from public internet.
Consider that MongoDB cluster nodes need to communication with each
other inside the kubernetes cluster, the generated certifcates must
include both internal endpoints and
external endpoints.
How does one server trust that the certifcate is valid? The certificate must be signed by a certificate authority (CA). In our case, we need to generate 4 certficates:
rootca.crtuserdb<X>.pem,X=0,1,2
Generate Self-signed CA Certificate
Refer to: # Appendix A - OpenSSL CA Certificate for Testing
Generate CA key
$ openssl genrsa -out rootca.key 4096
Generating RSA private key, 4096 bit long modulus (2 primes)
..................................................................................................................................................................................................................................................++++
................++++
e is 65537 (0x010001)
rootca.key is the private key, keep it safe.
Configure rootca.cnf
rootca.cnf is the config file for the CA certficate. No
need to change.
# For the CA policy
[ policy_match ]
countryName = match
stateOrProvinceName = match
organizationName = match
organizationalUnitName = optional
commonName = supplied
emailAddress = optional

[ req ]
default_bits = 4096
default_keyfile = rootca.pem    ## The default private key file name.
default_md = sha256                           ## Use SHA-256 for Signatures
distinguished_name = req_dn
req_extensions = v3_req
x509_extensions = v3_ca # The extentions to add to the self signed cert

[ v3_req ]
subjectKeyIdentifier  = hash
basicConstraints = CA:FALSE
keyUsage = critical, digitalSignature, keyEncipherment
nsComment = "OpenSSL Generated Certificate for TESTING only.  NOT FOR PRODUCTION USE."
extendedKeyUsage  = serverAuth, clientAuth

[ req_dn ]
countryName = Country Name (2 letter code)
countryName_default = CN

countryName_min = 2
countryName_max = 2

stateOrProvinceName = State or Province Name (full name)
stateOrProvinceName_default = Beijing
stateOrProvinceName_max = 64

localityName = Locality Name (eg, city)
localityName_default = Beijing
localityName_max = 64

organizationName = Organization Name (eg, company)
organizationName_default = TestComp
organizationName_max = 64

organizationalUnitName = Organizational Unit Name (eg, section)
organizationalUnitName_default = TestComp
organizationalUnitName_max = 64

commonName = Common Name (eg, YOUR name)
commonName_max = 64

[ v3_ca ]
# Extensions for a typical CA

subjectKeyIdentifier=hash
basicConstraints = critical,CA:true
authorityKeyIdentifier=keyid:always,issuer:always
Generate CA Certificate
$ openssl req -new -x509 -days 36500 -key rootca.key -out rootca.crt -config rootca.cnf
You are about to be asked to enter information that will be incorporated
into your certificate request.
What you are about to enter is what is called a Distinguished Name or a DN.
There are quite a few fields but you can leave some blank
For some fields there will be a default value,
If you enter '.', the field will be left blank.
-----
Country Name (2 letter code) [CN]:
State or Province Name (full name) [Beijing]:
Locality Name (eg, city) [Beijing]:
Organization Name (eg, company) [TestComp]:
Organizational Unit Name (eg, section) [TestComp]:
Common Name (eg, YOUR name) []:
Enter information for each field. After that, you will get a CA
certificate rootca.crt with a valid period of 100 years
(not recommended).
Generate Intermediate Certificate
# The Difference Between Root Certificates and Intermediate Certificates
A typical certficate chain:
CA -> IA -> Server CertificateCA -> Server CertificateGenerate Server Certificates
Refer to: # Appendix B - OpenSSL Server Certificates for Testing
Configure userdb0.cnf
The most important part is [ alt_names ]. As explained
before, the DNS must include include both
internal endpoints and external endpoints:
[ alt_names ]
DNS.1 = userdb0.com
DNS.2 = userdb-0.userdb-svc.mongodb.svc.cluster.localIP.1 = x.x.x.x.
userdb0.cnf:
[ req ]
default_bits = 4096
default_md = sha256
distinguished_name = req_dn
req_extensions = v3_req

[ v3_req ]
subjectKeyIdentifier  = hash
basicConstraints = CA:FALSE
keyUsage = critical, digitalSignature, keyEncipherment
nsComment = "OpenSSL Generated Certificate for TESTING only.  NOT FOR PRODUCTION USE."
extendedKeyUsage  = serverAuth, clientAuth
subjectAltName = @alt_names

[ alt_names ]
DNS.1 = userdb0.com        ##TODO: Enter the DNS names. The DNS names should match the server names.
DNS.2 = userdb-0.userdb-svc.mongodb.svc.cluster.local        ##TODO: Enter the DNS names. The DNS names should match the server names.
IP.1 =          ##TODO: Enter the IP address. SAN matching by IP address is available starting in MongoDB 4.2
IP.2 =          ##TODO: Enter the IP address. SAN matching by IP address is available starting in MongoDB 4.2

[ req_dn ]
countryName = Country Name (2 letter code)
countryName_default = CN

countryName_min = 2
countryName_max = 2

stateOrProvinceName = State or Province Name (full name)
stateOrProvinceName_default = Beijing
stateOrProvinceName_max = 64

localityName = Locality Name (eg, city)
localityName_default = Beijing
localityName_max = 64

organizationName = Organization Name (eg, company)
organizationName_default = TestComp
organizationName_max = 64

organizationalUnitName = Organizational Unit Name (eg, section)
organizationalUnitName_default = TestComp
organizationalUnitName_max = 64

commonName = Common Name (eg, YOUR name)
commonName_max = 64userdb0 as an example:
$ openssl genrsa -out userdb0.key 4096
$ openssl req -new -key userdb0.key -out userdb0.csr -config userdb0.cnf
$ openssl x509 -sha256 -req -days 3650 -in userdb0.csr -CA rootca.crt -CAkey rootca.key -CAcreateserial -out userdb0.crt -extfile userdb0.cnf -extensions v3_req
$ cat userdb0.crt userdb0.key > userdb0.pem
Sample output:
$ openssl genrsa -out userdb0.key 4096
Generating RSA private key, 4096 bit long modulus (2 primes)
.............................................................++++
.....++++
e is 65537 (0x010001)

$ openssl req -new -key userdb0.key -out userdb0.csr -config userdb0.cnf
You are about to be asked to enter information that will be incorporated
into your certificate request.
What you are about to enter is what is called a Distinguished Name or a DN.
There are quite a few fields but you can leave some blank
For some fields there will be a default value,
If you enter '.', the field will be left blank.
-----
Country Name (2 letter code) [CN]:
State or Province Name (full name) [Beijing]:
Locality Name (eg, city) [Beijing]:
Organization Name (eg, company) [TestComp]:
Organizational Unit Name (eg, section) [TestComp]:
Common Name (eg, YOUR name) []:

$ openssl x509 -sha256 -req -days 3650 -in userdb0.csr -CA rootca.crt -CAkey rootca.key -CAcreateserial -out userdb0.crt -extfile userdb0.cnf -extensions v3_req
Signature ok
subject=C = CN, ST = Beijing, L = Beijing, O = TestComp, OU = TestComp
Getting CA Private Key

$ cat userdb0.crt userdb0.key > userdb0.pemuserdb0 to userdb1 and userdb2.
Finally you will get three server certificates:
userdb0.pem, userdb1.pem and
userdb2.pem.
Verify Certifcates
Verify Server Certificate
Specify the CAfile is rootca.crt:
$ openssl verify -CAfile rootca.crt userdb0.pem
userdb0.pem: OKopenssl verify -CAfile rootca.crt rootca.crt
rootca.crt: OKView Certificate Detail
$ openssl x509 -text -noout -in userdb0.pem
...
            X509v3 Subject Alternative Name:
                DNS:userdb0.com, DNS:userdb-0.userdb-svc.mongodb.svc.cluster.local, IP Address:xxx.xxx.xxx.xxx
...
Now we have a CA certificate root.crt and three server
certificates userdb<X>.pem.
Lets go to the final step: Enable UserDB TLS and Auth